How Often Do Aquariums Leak? Causes, Solutions & Prevention!
Aquariums are popular for their beautiful design and bright colors. More importantly, they provide a safe place for fish to grow, swim and live in peace. However, many people are still unaware that aquariums can leak because of different reasons. In this article, we are going to tackle those causes, how often do aquarium leaks happen, as well as steps to solve and prevent those annoying occurrences.
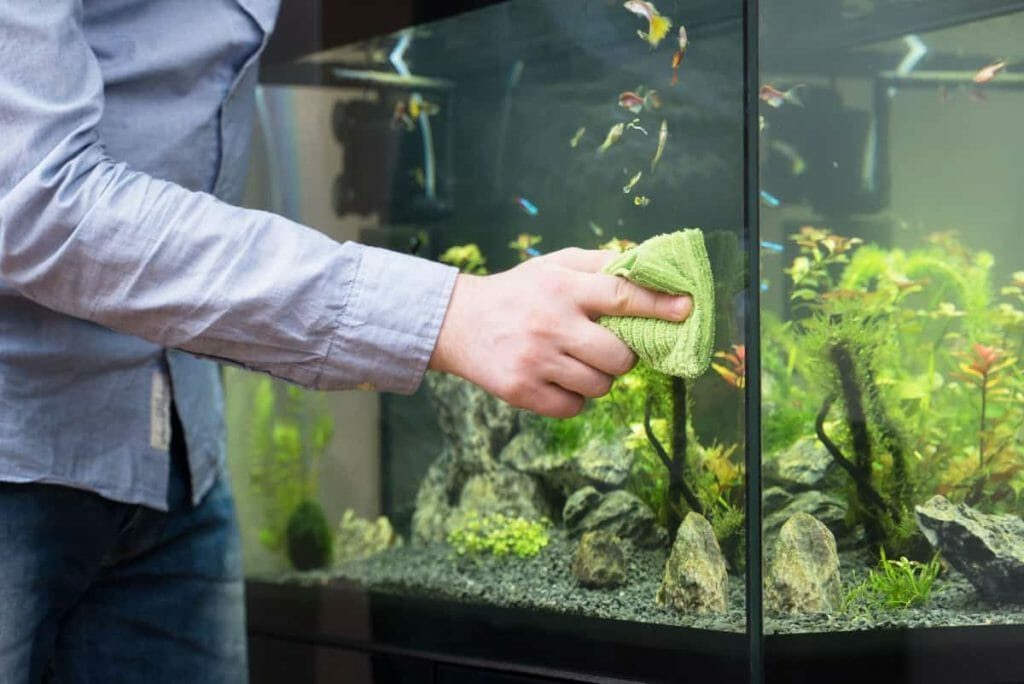
Table of Contents
How Often Do Aquariums Leak?
Aquarium leaks are a common occurrence in many households and this has been backed up by different studies and experiments. For instance, the Atlantic Marine and Aquatic Center has experienced a lot of aquarium leaks due to poor connections causing pH fluctuation inside the tank or leakage along cracks. Another study from the American Program Bureau resulted in leakage of about 25% of over 3,200 tanks that were tested. Other surveys show similar results; Clemm et al found out people replace their aquarium tank more often than expected because leaks occur in almost 40 percent of cases.
It’s quite normal for aquariums to leak in the beginning due to a variety of reasons. However, with time, they get better not only because you are more aware of what causes these issues but also how to fix it as soon as possible!
Why Do Aquariums Leak?
Aquarium leaks are usually the result of cracked or broken hoses, weak piping elements, turbidity in water and incorrect assembly. In rare cases, aquarium leaks can also be caused by old equipment malfunctioning.
The most common cause for an aquarium leak is a faulty connection where pressure builds up inside the tank. This usually happens due to poor hose connections between plumbing and tank, or leaks caused by cracks from a growing stress point where two objects meet which can eventually lead to loose fittings or crack patches on tanks. This is the reason why it is important to ensure proper maintenance like cleaning and tightening fittings on hoses.

How to Know if Your Aquarium is Leaking
Aquarium leaks are more noticeably common in low-light environments such as during the night or when lights go off. A dripping sound on one side of an aquarium suggests a leak where water is seeping out through gaps between tiles, cracks, and lining. In addition, leaks can usually be accompanied by an odor which can be a strong, unpleasant smell in the air around the aquarium. This is the reason why you should regularly inspect your aquarium for leaks and make sure to clean it thoroughly at least once a week.
The most effective way to find out if an aquarium is leaking or not is by using a flashlight to shine it into the glass screens and carefully inspect for little cracks that may eventually lead to major problems.
What to Do When Your Aquarium Leaks
Step 1: Turn Off the Electricity
Some people might be tempted to leave the lights ON while fixing tanks as a matter of habit, but drip by drip, these water leaks can accumulate and cause more damage, that’s why you have to make sure that the electricity is turned off first before anything else for your own safety. After all, aquariums do not need regular power and there is no need to worry about the power being off for 3 to 12 hours.
Step 2: Carefully Remove the Fish and Water
To get all the freedom that you need to find out where the leak is in your aquarium, it is important to save the fish and remove the water. Do not hesitate in removing the water since there is a big possibility that it has been contaminated already from the cause of the leakage by tiny pieces of glass from a crack which can harm your pet fish.
Step 3: Scrape off the Old Sealant
When anything leaks, the sealant knows it. Scraping off the old sealant that is used to prevent water from leaking out may prevent new cracks in future. You can also try using household cleaners or some commercial foaming cleansers like Marineland Stealth Seaclear which is mainly made for removing calcium buildup on seals.
Step 4: Inspect and Clean the Leaking Spot
The next thing that you need to do is to inspect the places where water enters your aquarium. Notice if there are any obstructions in this space which might have caused the leaks as these structures are the main sources for moisture getting into tank that can cause holes and cracks. Also, make sure not to forget about vent plugs attached with plastic bows which can be excessively used. Clean the leaking spot to remove any debris and to estimate the amount of the new sealant that you will need to cover it.
Step 5: Seal the Leaking Spot
If you found that the leak has been coming from a crack in one part, it is best to choose a filler which you can apply over the cracks and other areas where water gets in easily. You can use a silicone sealant to cover the cracks and other parts where water is getting in. You can also use wood filler or polyurethane which is more flexible than some of these products. These materials are great for repairing cracks in aquariums because they are not only able to fill up these cracks but also resistant to any type of moisture.
Step 6: Let the New Sealant Dry
Let the sealant dry for some time or it will absorb water quickly and you get a wet aquarium which may lead to causing problems along with failure of filling the jars. It is best that after applying it, its drying time should be long enough so that they stay solid as needed.
Step 7: Fill your Aquarium with Water to Check for Leaks
Do this step before putting back everything else to ensure there are no remaining faults or complications with your aquarium. While refilling your aquarium with water, you should be observant because sudden changes in water temperature will induce some damage which may lead to serious issues like algae formation or another physical harm as a result in the long run.
How to Prevent Aquarium Leaks
Level your Aquarium
To decrease the risk of aquariums leaking, you must be cautious when setting up your tank as well. Use a level and let the tank sit for 2 to 3 days before inspecting it for leaks. Be sure to verify that the tank remains level during this time. This step will ensure that your aquarium is as safe as possible from possible imbalance that can cause friction in between equipment.
Use the Right Water Filter
Make sure you use a filter with high quality filtration to avoid water leaks. Use a high-quality filter that has no holes or cracks and has been approved by the manufacturer for aquarium use. It is also important to check if the filter has enough pressure and make sure it can handle the amount of water your tank holds at any given time.
Avoid Purchasing Fake Tanks
It is extremely important to refrain from purchasing the wrong kind of tank which could cause leaks. Fake ones are usually not approved for aquarium usage and may experience leakage, allowing water in between the glass panels here damaging your paint work on it or leading to injury by scratching against metal fittings. When purchasing an aquarium tank try these certifications: europium, no glass composite paneling or materials in-between their inner structure, valve without a screw lock mechanism located on its side of the removable lid and a vent.