How to Make a Self-Sustaining Aquarium: Step-by-Step Process
Aquariums are wonderful. They provide us with fish and the beauty of their swimming patterns, but most of all they allow us to escape from our daily routine. However, one aspect of the aquarium is often overlooked- its waste management system. The idea of having a self-sustaining aquarium can be seen as a simple thought: everything you need is already there, and all you have to do is connect it together. But this isn’t always simple.
In this article, we are going to take a look at how we can make a self-sustaining aquarium that does not require any kind of external support.
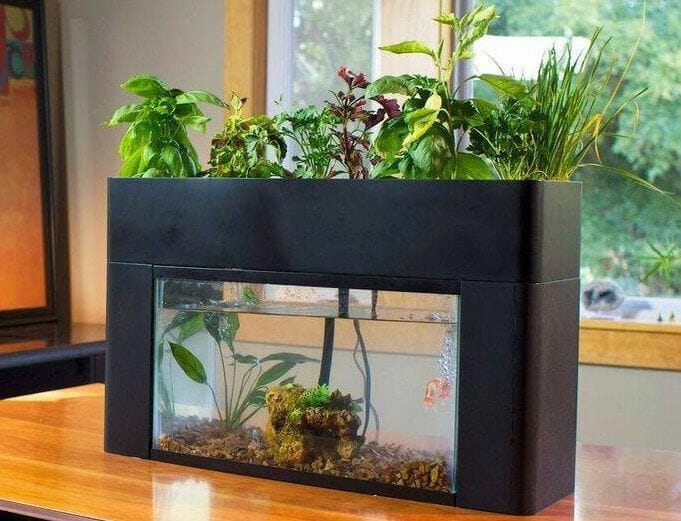
Table of Contents
What Is a Self-Sustaining Aquarium?
A self-sustaining aquarium is one in which the fish tank uses its waste as a way of feeding itself. There are three main ways that aquaponics can work: nutrient recycling, net top, and hydroponics. This method involves using nutrients from the metabolism process to fertilize plants grown above ground or beneath the water surface of your fish tank. The second technique works by creating systems where nutrient rich fed bacteria produces plant food, known as hydroponics. This is the best method for containing extra nutrients in water without using large tanks outside or on top of your fish tank.
Aquaponic technologies such as these are easier to use than ever before and one day even a beginner can grow their own food from simple containers connected to an aquarium that combines both a high depth and low surface area which results in efficient nutrient absorption while still feeding itself through waste materials.
Why Should You Make a Self-Sustaining Aquarium?
There are other reasons aside from the environmental ones to make this kind of aquarium, such as a way for beginners to build up their skills in aquaponics. It is also eco-friendly because it uses clean energy and growing plants lowers nitrates and phosphates found in tap water that can cause pollution problems with large open tanks. This fish tank will break down its waste materials into nutrients which then feed the ocean-screened roots’ of the plants. The nutrient-rich mass is then released back into the water system and meets up with algae in a natural way.
In addition, you can also build a self-sustaining aquarium to sell your fish for food or to earn money. If you are thinking about selling the fish in order to make some extra cash, then you need to know that aquaponics is a very effective way of doing so. It will provide you with more than enough fish food for the amount of time it takes for them to grow and reproduce.
How to Make A Self-Sustaining Aquarium
Step 1: Get an Aquarium
The first step of the process is to acquire a fish tank. There are many different types and styles available, but any small glass or plastic fish aquarium will do. It can be found at most pet stores like Petsmart, shops that sell aquatic life supplies, online retailers such as Amazon and Wal-Mart.
Locally, you may also find them in your garage sale or on craigslist for a large discount. Often, if you search for fish tanks in your area, anything and everything that holds water has a price tag of some sort attached to it – however low the number may be (usually less than $20.) All you need is one small enclosure to start this process, which will prove difficult at first but manageable over time.
Step 2: Acquire an Air Pump for Your Aquarium
Air pumps are thin plastic tubes that vibrate in order to create a current of air. Air pumps can cost anywhere from $5-$50, depending primarily upon how many units are included with each model, and they are essential for this process as it relies on the current that is contained within. It will decide how fast your tank stays filled with oxygen (though without any fish at the bottom which would kill off your supply). There are many different types of aquariums you may use, so understand what materials you need before purchasing an already assembled model aquarium.
Step 3: Build a Filter and Fill the Tank with Water
When you first get the tank, fill it up with water. A submersible fish aquarium can be used in any size (1-2 gallons). It is all about what works for your needs as an aquarist; others advocate using 5-20 gallon tanks so you have enough room to grow/keep more intense species like swordtails or platies. Whatever kind you decide is best, simply get a filter. You can either find filters used by fish keepers as they are often surplus or buy pre-made ones (or use your own).
Step 4: “Hang Out” for 10 Minutes at Air Pump’s High Proof Level
In order to create an adequate amount of current, your tank will need some breathing space (to transfer oxygen properly) and with the present-day product it is recommended that tanks be twenty milliliters high. To do this, you will want a tall Tupperware container, which should be long enough for its entirety to fit in one half of your enclosure’s top opening. From there, screw the pump into both sides– forming two points where the water can be forced out of the edges and into your tank.
Once you have the pump and base, it is recommended that you hover for about 10 minutes at an equivalent distance from the pump unable to push any further. Thus, create a hole roughly one-and-a half feet in diameter through a wall or through plastic sheeting nailed over two studded boards on either side of your tank’s opening. This works well if our tank has been made out of wood. If made from plastic, you will want to start drilling through the bottom level instead and make a larger hole at that point as well as one on either end: three spots total for about ten minutes more each time for maximum oxygenation (at least 25 centimeters in width below your waterline).
Step 5: Remove Interference in the Environment
The next important step involves entering an area where there has been no air movement except the vacuum created by your pump. This removes all suspended mist and particles (particularly dust, microparticles and water droplets) from its environment with no interference possible. It will also help to prevent new contaminants from entering its space while stored over time without any “change” or air to enter afterwards.( Which can transfer into negative pressure areas in unlikely circumstances such as if a hole is broken within it.)
If you are using an aquarium that is already set up, it would be best to clean the foam-insulated box as well and open its doors. This will prove more effective since aquariums are so susceptible not only because air movement is designed for but also fish waste has a tendency to accumulate on walls after removing their water or aeration tanks in order for them (the responsible part of this process) from drowning without any oxygen produced by those things used beforehand.
Step 6: Put Everything Into Your Box While Breathing in Oxygen
Packing everything up is theoretically very simple– so long as it was already given adequate space in each enclosure during the previous steps. But this is still a situation where boxes should be used if you’d like to keep everything totally contained– but of course just make certain that your air pumps are positioned as far away from them as possible (this will ensure secure performance throughout its entire life).
The most important elements for an aquarium must be protected at all times, and the two main parts are invariably lights, livestock and water. Proper placement of all three parts is essential to effective and efficient aquarium care, so ensuring their safe arrangement can be done. To do this, you will want a glass tank– the type that comes with double-sided mounting pieces.
Step 7: Welcome Your Fish Home
You can put your fish inside at this point, but the most important part of the box would be to place an air pump into both openings for ventilation purposes. Keep that water away from light fixtures if possible! Some prefer housing all of their equipment horizontally (as illustrated below), while others choose to have their entire setup vertical which requires more space on top: There can be a wide variety of potential issues that require air pumps to resolve, so don’t overlook the tools when purchasing a new set. In addition, some use a small hole drilled into the lid of their aquarium to allow for natural air circulation, but this isn’t necessary and is also not recommended.
Step 8: Add Your Own Design Elements!
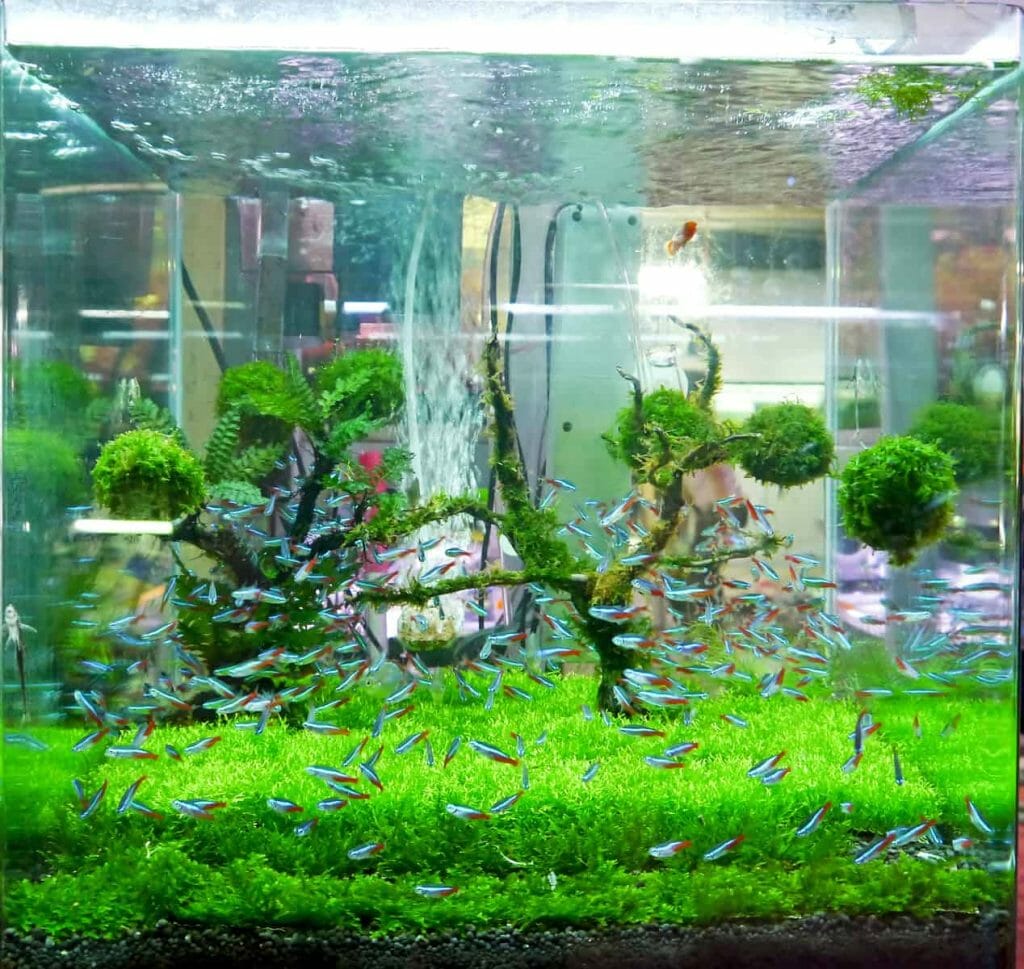
It’s always been possible to do fishless cycling in a bonsai or small mini tank, just so long as they are used appropriately. This can model various enclosed systems where the goal is to mimic a planted ecosystem– it may not actually be looking like one though without live aquarium plants and substrate included. Still, this might provide advantage for aquarists wanting to try other fishless methodologies, as well.
Other options include creating small reef tanks with artificial plants and live sand substrate at the bottom portions of the aquariums themselves – this helps reflect light in from above which can then also be used for heating some days.