How to Prepare Sand for Aquarium: Step-by-Step Process
The name of the game when it comes to aquariums is making sure your fish have all the necessities they need to thrive. However, when setting up an aquarium, it’s important to consider more than just water and gravel for your fish. There are a number of other essential components that will help ensure your tank remains clean and healthy. One of these components is the sand.
Sand has a lot of benefits for fish, plants and equipment. But how can you prepare sand? In this article, We have compiled everything you need to know about preparing the right kind of sand for your tank.
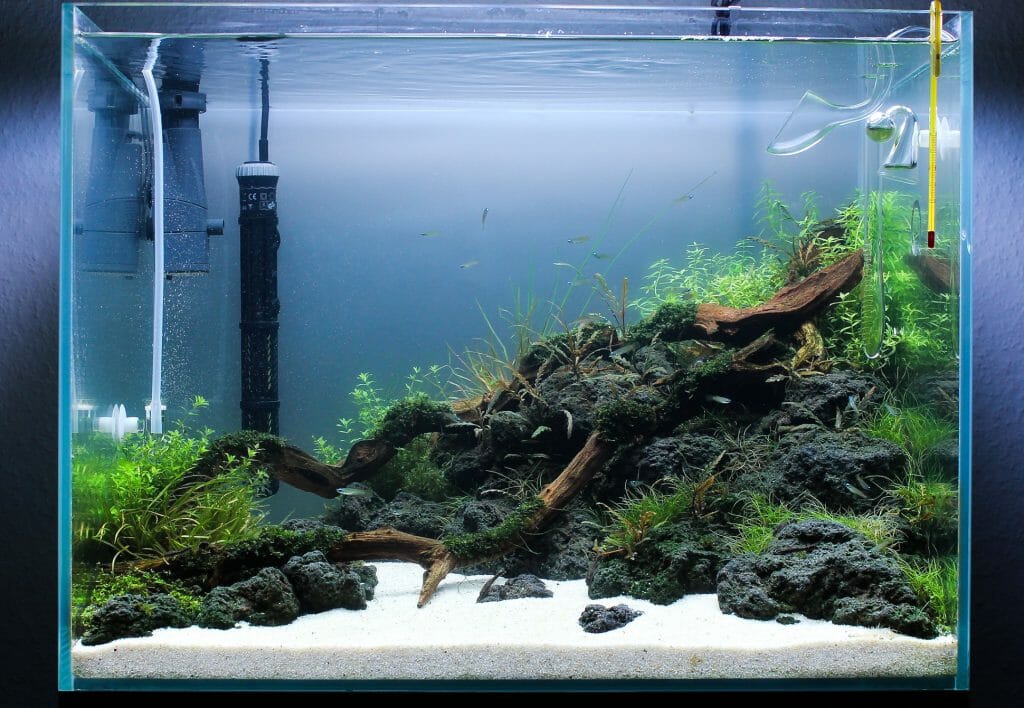
Table of Contents
Why You Should Use Sand in Your Aquarium
Here are some important facts to know as to why you need sand in your aquarium!
Chemical Free: Sand is essentially pure silica (H2SiO3), a component that has naturally derived from when water evaporates as it moves inland, leaving behind the impurities.
Bacteria Filter: Fish like things with sandy bottoms – so it helps keep their environment clean and bacteria levels low. An often overlooked benefit of using sand in your tank, however big or small you want to use them for. They can even work with peat if you want to bring in some extra benefit from the nature.
Fish Friendly: Sand acts as a filter medium, which allows your fish and objects made of plastic such as plants or wood to sit on it without getting trapped between the grains – lending more oxygen straight into areas where keeping an open environment can be good for longevity. This also aids in providing proper filtration by allowing chemical waste products to pass through the sand bed. Sand is also a natural nitrogen and phosphate remover, due to its small size and being able to circulate through the water at light speeds.
Economical: Using sand in your fish tank can help save some money – as there are no added fertilizers or unnecessary chemicals required.
How to Prepare Sand for Aquarium
Step 1: Buy Top-Quality Sand
To help protect yourself while buying, check to see if your desired sand at a local store has been pre-sealed – this means that it was treated by the manufacturers before being sent out onto the market. Some types of sand have started to become contaminated with items such as pesticides and other chemicals used for exterior construction or farm work which can eventually release these toxins into aquarium water.
Good-quality sands are also often labeled or colored in black (instead of white) to warn consumers that the sand they are purchasing could be hazardous – while also offering an easier way of separating them.
Step 2: Clean Your Aquarium
Make sure to clean out your entire tank before adding in new sand – so that it can be an even surface for the installation. Remove any debris or plant life from around the perimeter of the bedding and make sure to rinse away some of any residue that is left behind on a sponge; this will help stop anything harmful when you start pouring in water. It’s also not bad idea just to use plain old vinegar and hot water instead of salt water.
Be certain to ensure that your tank is completely clear prior to removing the old sand – because you’re adding in new on top of already existing items and it could be impossible for this process if some residue or paint chips from a previous installation are still kicking around.
Step 3: Remove the Old Sand
You will need to remove all previous sand as well. Any large pieces of gravel should be removed and some strainers may ensure that the process is easier anyway. Inspect the drain – make certain there aren’t any used or sharp-edged pipes blocking your path, which could cause potential damage later on when pushing new specimens around in your aquarium.
In addition, ensure that the old sand has been completely removed from the bottom of your tank, because this will be a perfect place for any excess water to collect and cause problems later on.
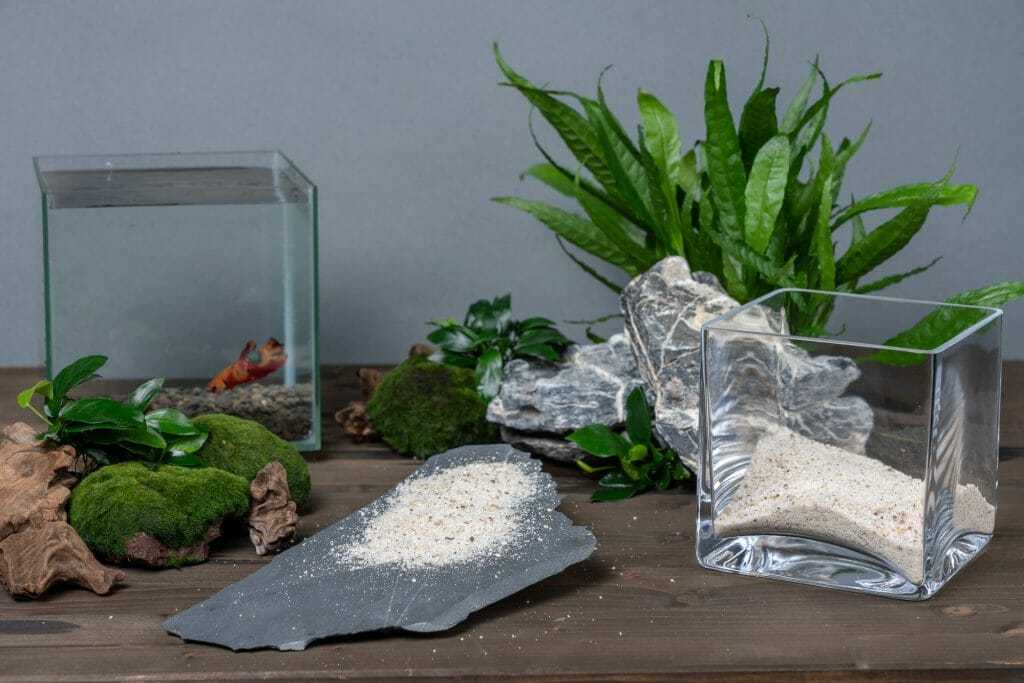
Step 4: Rinse the New Sand
If you pour in the sand at once, it is possible for your tank to become very cloudy. To make sure this doesn’t happen and that everything sinks into your new bedding, begin by pouring a bit of water onto the substrate (with most tanks – being filled with saltwater) in such a way that it spreads evenly across all surfaces. Do not fill up more than halfway before adding some dry material; there is no need to fill up all of the sand. This check ensures that it’s all absorbed into your tank quickly and easily without messy results, even if you are taking pride in not spilling on things for once.
Step 5: Put the Sand in the Aquarium
Once your tank is filled to the brim, place one hand over it and press water down all around the perimeter. Ensure that no sand has become stuck together from previous use or spilled out of fish bowls. In addition, the water will ensure that any debris has been washed away and the bottom of your tank is completely clean. You can then add a few handfuls of sand to ensure it’s all properly packed down and ready for you to start adding in some fish and decorations.
Step 6: Dump the Sand in Again For Added Security and Stability
You will want to fill up about three quarters or so of your tank, leaving room for air and gas exchange. Remember that sand’s density makes it weigh significantly more than water. When you finally have this much are foiled into place (being careful about not exceeding the recommended aquarium size limit), continue to press water around all sides until to ensure a full even distribution throughout over a period of at least one hour and preferably longer.
Step 7: Add Some Live Plants
You may want to consider adding live plants as well, although this isn’t necessary if you don’t have the space in your tank for them. Try bunches of Amazon sword plants, ferns, or any roots and other interesting little critters you might want to keep an eye on at all times. In addition, you can add in live rock, as it will provide an interesting habitat for your fish and keep them safe from harmful bacteria.