How to Remove Aquarium Sealant: Step-by-Step Process
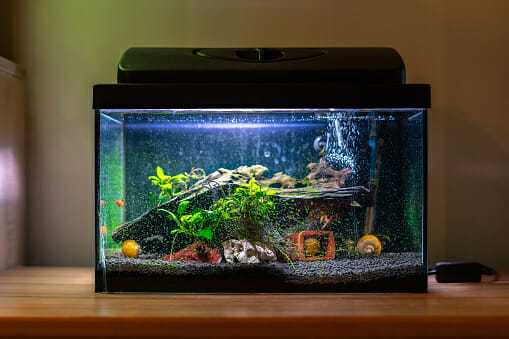
Aquarium sealant is a type of glue used to close up gaps between tiles in an aquarium. It is used to coat the surface of glass or acrylic aquariums. It provides a protective layer between the glass and its surroundings, keeping in water and preventing it from being affected by dust or other elements. It’s safe for fish and can last for a very long time, but it will eventually begin to break down and become unworkable. Fortunately, the sealant can be removed with these simple steps.
Table of Contents
Why Is It Important to Replace Aquarium Sealant?
Aquarium sealants are meant to be used once and then discarded (unless they’re designed with a reset-mechanism that allows users a subsequent “dual” application). It is not possible for them to cure properly or last an extended period of time. When these sealant services begin breaking down, ich, or other types of issues arise and create a multiplier effect and start combining to become an overall problem. Following instructions from manufacturers or sellers of aquarium sealant is going to be very useful.
How to Remove Aquarium Sealant
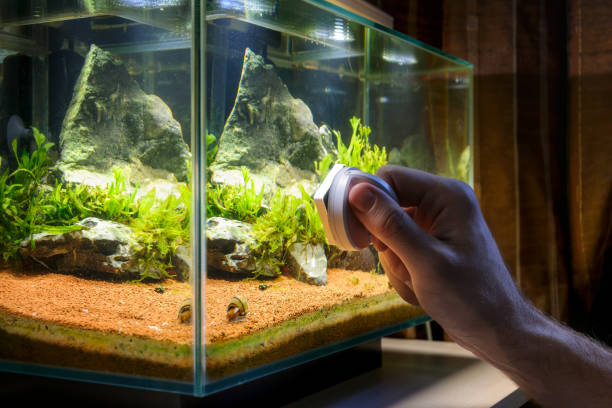
Step 1: Prepare Your Aquarium
Your aquarium should be unplugged to safely remove the sealant around the edges of your glass. If you have a black background, drain all other water from this area before removing any sealant aside from some very small breaks that may lie close by. In order for it to work, these areas must also be empty. Get rid of all gravel or stones so as not to catch on anything and throw out any plants if they are covered in sealant.
Step 2: Utilize a Cutting Tool

More than likely, the area that is dripped with any aquarium sealant will have other small cracks or tears as well. The fastest and easiest way to remove this is to use a cutting tool (like you would use on butcher paper) or just wedge it between your fingers when it comes loose from the sides of your glass. It might make a popping sound if there are pieces within those later layers of sealant, you’ll just have to be careful.
Step 3: Rinse Off Your Aquarium
Rinsing off your glass may serve two purposes. First of all, it will help in removing the remaining bits of dried-up glue from the cracks and folds on your tank sides. Second, rinsing will actually dampen any vinegar or peroxide that is added for disinfection if this was done after fish were placed into the water. This can attract bacteria to the aquarium and lead to aquarium sickness, so once your tank is clear of water, rinse out this chlorine or hydrogen peroxide for safety precautions.
Step 4: Apply Some Acetic Acid
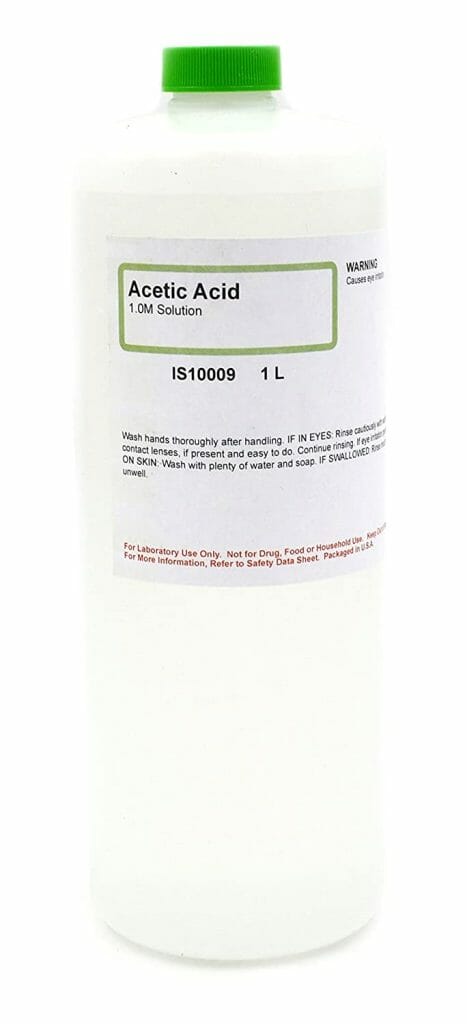
While some vinegar or peroxide can be helpful by disinfecting your water, a thicker application of acetic acid will effectively remove the sealant while also having an antibacterial affect. High concentrations should not used on any immediate dirtied object as this can damage surfaces left exposed to these acids. Apply lightly at first and build up more if there are no adverse reactions after the necessary amount of sealant was washed away.
Step 5: Apply Silicon Release Agent and Wait for 1-2 Days
One thing to remember is that the sealant has a fairly short lifespan. If you leave your aquarium unattended for longer than this, algae will become an issue as well if there are any problems with excessive minerals in the water from d phosphorus or other packaging materials. Wait one day before filling it back up because of uneven surfaces caused by these particles which means all hard surfaces must be leveled once again after waiting about 1 day.
Step 6: Fill Your Aquarium and Test It
The sealant had completely dissolved away, so you can better judge now to see if your system will operate properly or if there are clogging issues still. If that does not appear to be the situation after a rinse as well as some aquarium water added for safety precautions, then fill with rockwool cubes about two thirds full, no topping off is required due to the bulk of these materials. Then, top off the aquarium with water and wait for about a week before adding your fish again.
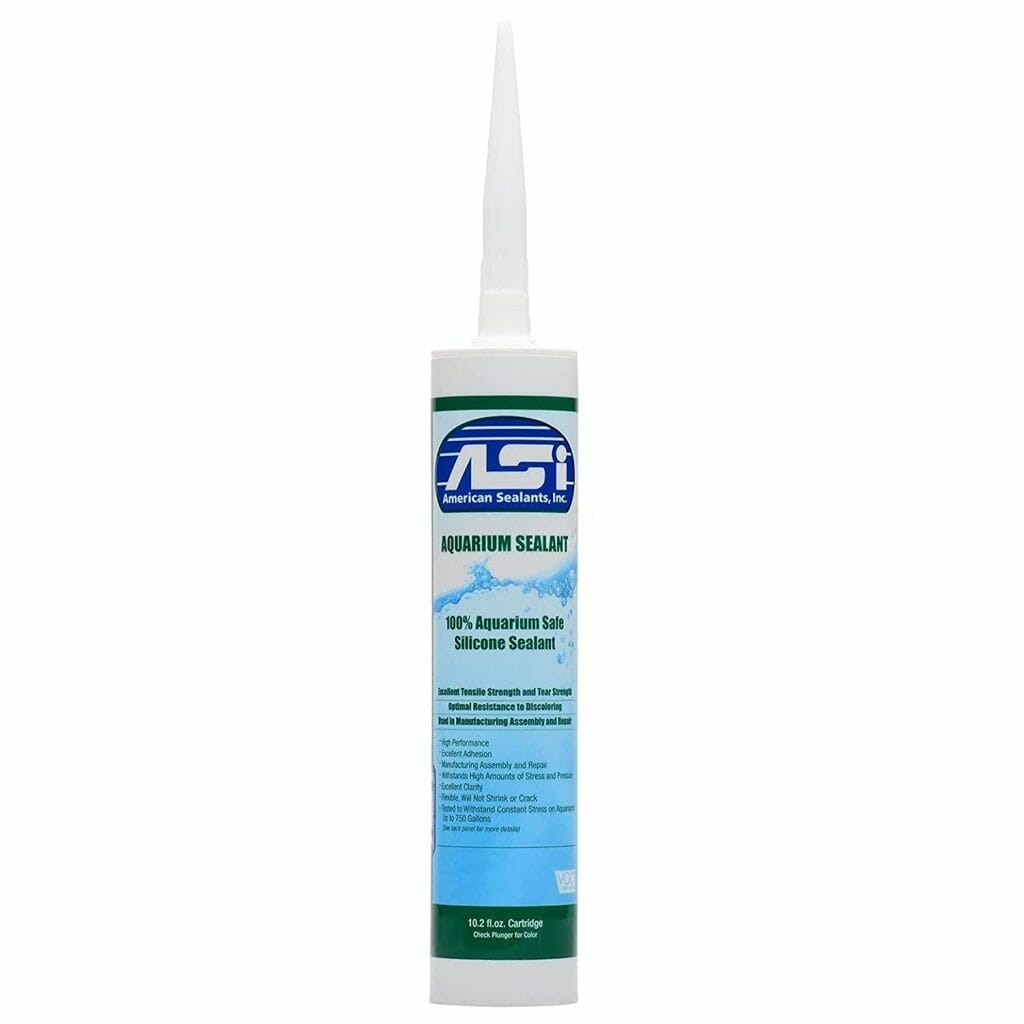
What Is the Best Aquarium Sealant?
Some sealants may have different levels of compatibility with other products and surfaces. The best thing to do is research each product before purchasing, check the bottle’s ingredients and ask questions about any concerns you may have.
There are many different types of aquarium sealant available for purchase on the market today. These range from quick drying, water-based sealants to oil-based sealants, silicone based sealers and more. In addition, you may need specific products for different applications including: aquarium glass and coral, live rock repair materials such as silica gel packets or other mediums that are needed by particular types of reef aquaria. Make sure that when you are buying any product containing these items, it is specifically designed for your application.
Over the years, different sealants have been introduced over the industry, and each one has their own set of pros and cons. The most common types today include polyurethane, epoxy, silicone & urethane acrylics that are water-based or oil based. All these sealant can be used individually to repair particular aquarium leaks but it is more effective if you follow a few pointers when installing your sealant on any aquarium glass frame or live rock.
Always use a quality aquarium glass cleaner to clean your back splash (if applicable) and any leftover sealant that may residue on it, this will make sure you don’t have unsightly stains in the future. Always allow a second coat on large masonry structures such as rock so you can receive maximum coverage at all times. Also, always work with extreme caution when applying an epoxy coating over sand, or other active surfaces like live rock as they will act just like a coke bottle, taking on the new sealant and peeling back when you give them too much of a pushing.