How to Build a Plywood Aquarium: Materials and Instructions
A plywood aquarium is an excellent way to create a stunning display for your home. You can make one yourself or hire an expert to do it for you. This guide will help you in designing and building the perfect plywood aquarium for your terrarium or fish tank.
Table of Contents
Why Build a Plywood Aquarium?

Wondering why you would build a plywood aquarium with all the vast choices in fish tanks and aquaria? Plywood aquariums are great for many reasons. Here are a few:
Practical: you can use it for its intended purpose without any need to move the aquarium or worry about leaks
Sturdy and reliable: it won’t be likely to break or leak even if used extensively.
Affordable: plywood is relatively inexpensive, so your project will not take a lot of money upfront
User-friendly: easy-to-update/modify over time because most materials (plywood , acrylic sheet, etc.) can be obtained over the counter
Maintenance-free: it is easy to build a tank using plywood because you won’t need an aquarium heaters and filters.
Simple to assemble: everything is pre-planned or constructed easily; you don’t require any experience in building aquariums.
Adaptable: if the species of plants and animals are not compatible with each other, you can simply remove one wrong ingredient without ruining the whole structure.
Versatile: it can be used as an end table (with a small rail around some designed corner), or utilitarian storage space.
How to Build a Plywood Aquarium
List of Main Materials
Plywood Sheet
The aquarium needs to be made from plywood sheets, but plywood should not be cut into smaller pieces; it should be cut from a large sheet. A large sheet of plywood is needed because it is easier to cut the aquarium. In addition, the size of the aquarium will be determined by the dimensions of the plywood sheet. You can also use any other material that is strong and resistant to water.
Glass Sheet
You will also need a glass sheet, which should be tempered glass, and this type of glass has a higher resistance to heat than normal glass. Tempered glass does not crack easily when it is hit with an object or dropped on the floor. The aquarium needs to have a glass door to ensure that the water has good circulation so that it does not stagnate and become anaerobic.
Epoxy
In general, this is the cheapest material that you can use to build a plywood aquarium. The epoxy is a very strong sealant and cover for the wood, and you will be able to secure the sheets of glass or acrylic to the wood with a high resistance.
Pressure-treated Lumbers
Fasteners
Wood Glue
Screws
Step-by-Step Process
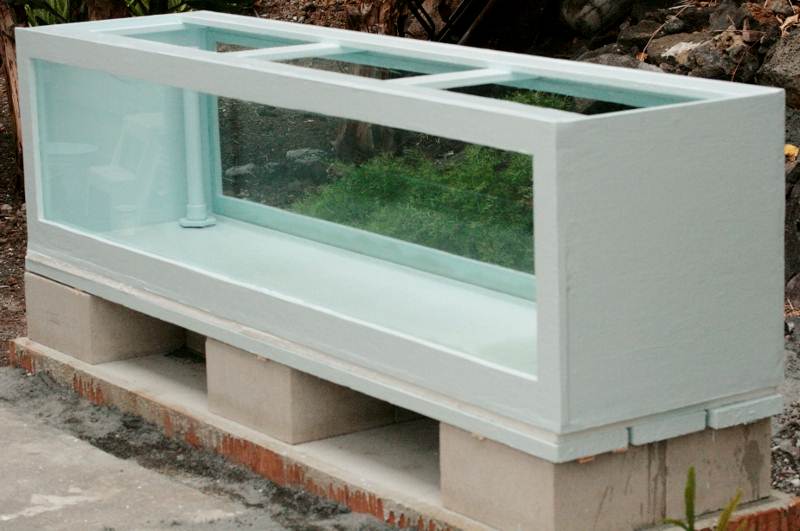
Step 1: Prepare and Build the Foundation
Prepare a wooden box to create your plywood aquarium using pressure treated lumber that is 18″ x 12”. This will serve as underneath of tank, which you’ll assemble later while building up with layers on top. First, cut one side flush with sheet width at all three ends (that is: 8′” each end) then do this same step for other two sides leaving the two corners. Next, add four locking baffles inside the box on all 8″ ends to hold the ground layer of sand in place well and securely.
Step 2: Section Off the Aquarium
After you have finished constructing your plywood aquarium base, line up four posts of pressure treated lumber at cross points so that they can be secured to each corner point for additional support. Once secure in place (if required), make sure it is level and straight with surface before adding any other layers on top such as a liner or sand bed.
Step 3: Screw In The Front Two Posts
Now, screw down two posts on both ends by using a Phillips head screwdriver or larger gauge open screws in order to strengthen the front two posts. Repeat this step on the opposite end of your wood aquarium by first laying down a few pieces lengthwise before screwing in at each corner post, then holding it steady from above with masking tape where you already placed two locking baffles earlier to lay foundation layer for your sand bed.
Step 4: Place the Glass Accordingly
To line up the glass on your wood aquarium and keep sand (if you have already added it) flat, follow these steps, make sure to smooth out any bumps with a sponge as it puts into place. It should be at least ¼ inch thick in every direction to hold its shape during over watering if needed.
Step 6: Use Epoxy to Stick the Glasses
If you do not want to use epoxy on the bottom board of your wood aquarium, it can be left off for now, but make sure to apply additional sealants as necessary. Allow epoxy to fully dry before continuing with the steps. You’ll need to let the epoxy dry for 24 hours before filling with gravel or feeding in fish. In addition, you will need to let the wood aquarium fully dry for 24 hours before putting in fish.
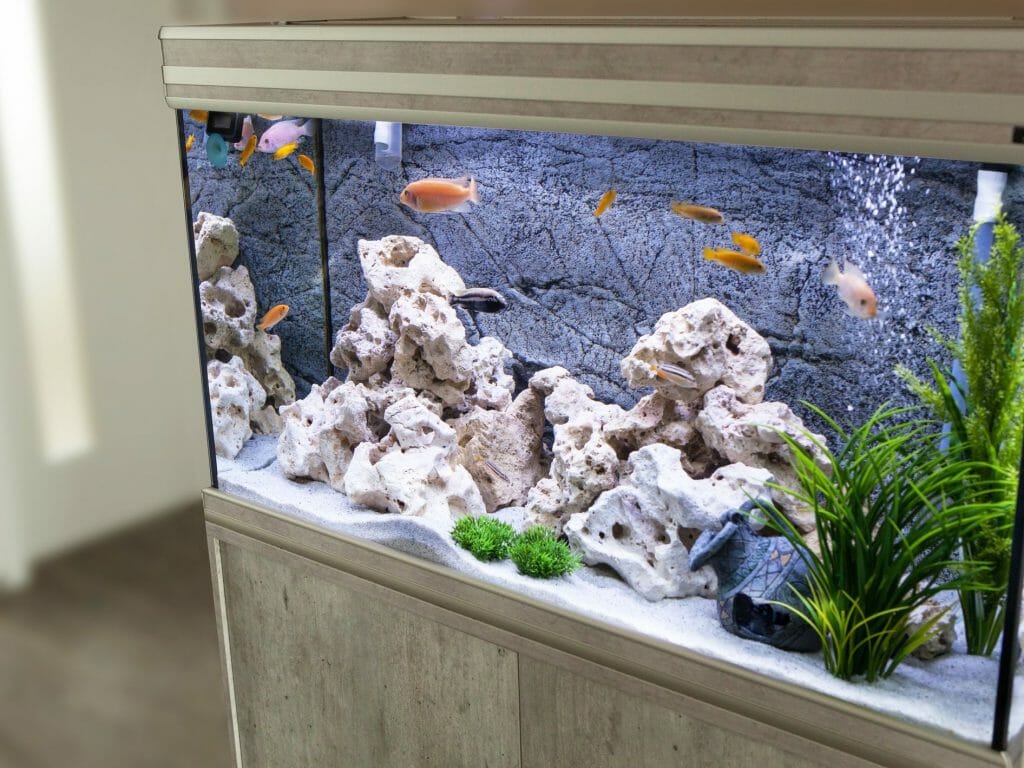
Step 7: Feed it Some Fish!
Now that your wood aquarium is ready, you can add fish! I suggest using a 50-50 mix of crushed coral and river gravel. To make sure you get the right ratio, use an old pair of pantyhose or tights and roll them up into a tube about 3 inches in diameter . With a stiff-bristled paint brush, mix the crushed coral with river gravel and deposit into your aquarium.
Be sure to place the wood aquarium near a light source so you can check for oxygen bubbles in your new aquascaping masterpiece!