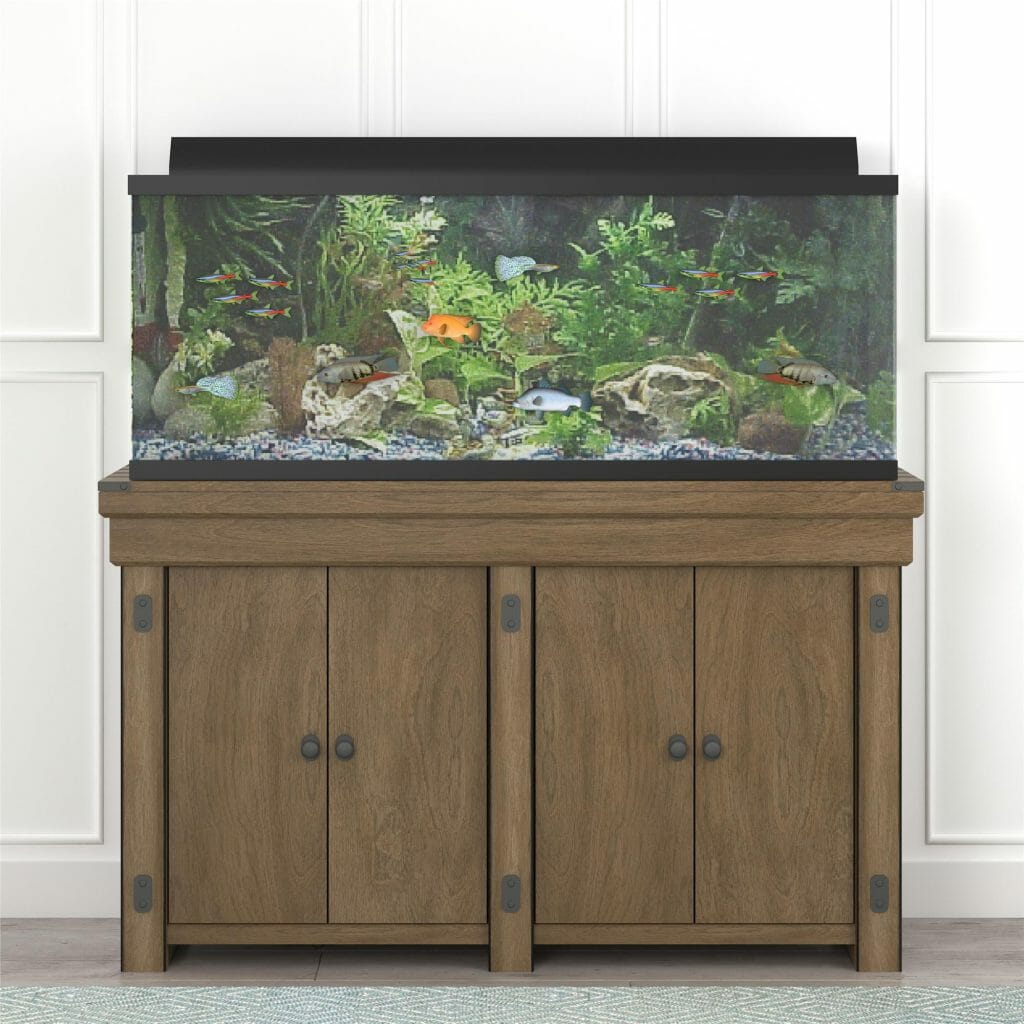
How to Build an Aquarium Stand: Step-by-Step Process
Aquarium stands can be a challenge for the serious aquarist, but it’s an essential component of your aquarium. This article will provide you with everything you need to know about building an aquarium stand. Today, we’ll cover the importance of having a good aquarium stand and how to build one!
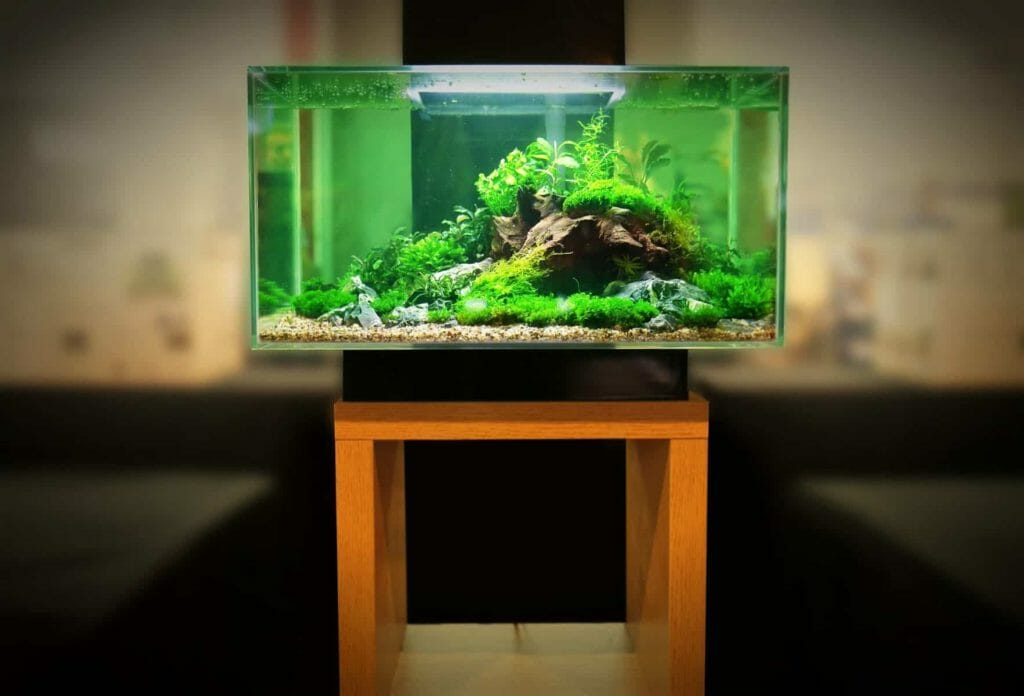
Table of Contents
Why Do You Need an Aquarium Stand?
An aquarium stand is the chosen means of supporting and housing your fish tank. It supports the weight of water that comes with your fish, creating a safe place for them to live. Also, it doubles as a decoration in your living space while connecting you to aquatic life outside! As these times become more contemporary and less set on tradition, many are choosing algae-resistant acrylic over wood as their favorite material because this type is easier for cleaning up pet stains.
Another benefit to investing in a good aquarium stand is that it allows for easy maintenance of your tank’s water level by remaining off the ground, which prevents you from disturbing and unsanitary leaks from seeping into the room below where other guests might walk on it or step over it.
How to Build an Aquarium Stand
Step 1: Gather Materials for Your Stand
To make a good aquarium stand, you will need various materials such as wood and metal, in addition to acrylic paint. There are many variations on the dimensions that can suit your needs; this list is meant merely as an introductory fill-in guide to help those without plans yet have something to work with and use during their construction.
Some basic supplies you will also want include four 4 ×4″-6×9″ pieces of wood, 4 1/2 yards (1.8 m) of around 3/4 inch material for the top portion, Screws or nails for small staples to hold the support structure together and a drill; any power screwdriver will do in this case except perhaps Phillips head. You may also be able to use metal brackets and screws instead if you want your stand nearly unbreakable!
Step 2: Creating the Base for Your Stand
For the base of your stand, you want a piece that is at least 6 square inches. This can be done using four 4 ×4″-6×9″ pieces of wood with dimensions chosen according to those given above or by buying a 12×12 inch sheet and cutting out multiple thinner quadrangles encompassing the width and length rather than just half as in step one. Drill holes in each end of the 6×6 (or whatever length you need to make your stand – shorter or longer as needed).
Step 3: Assembling the Rectangles
Take two pieces of wood and screw them together at 4 spots on each one edge, making sure that they are securely screwed into place but not tight. Now, cut out a rectangle section equal to the size you want for your fish tank. Staple the two rectangles together at five spots on each one edge. Install a wood block across the bottom and screw into place with screws or nails for added support. Use staples to attach your stand to whatever surface it is being set up on as needed. In addition, you may want to attach the bottom of your stand to a solid base for stability and protection.
Step 4: Screwing into Place
Take another one of these assembled rectangles and screw it into place in each corner from end-to-end matching left with right (cutting grooves for screws at appropriate levels). When lining up the cut-out section with aquarium walls or gravel, slip it into place so that one side of the rectangle meets up against a short piece of 1×2 and one end of this bar fits back onto itself. Make sure every screw hole is in line with all holes on either opposite bars – do several tests to make sure they will not interfere when assembled (though drilling first helps).
Step 5: Assemble the Stand
Assemble another footed section using two opposite sections corresponding shapes, and screwing also tightly into place with at least 8 screws on each corner. Carefully slide this onto top edges of the first, and place this against your wall where you have chosen to stand it. Lay the base upside-down on your work surface, and as many times around it (in a circle) as you want. Place one end of the round wood block into it’s groove in one corner edge of this stand. Make sure that this is lined up with its holes so they will all line up when tightened down onto wooden surfaces in the next step – do rapid test-fits while fastening with screws.
Step 6: Fastening Down the Stand Base in Place
Use your strongest level of finishing nails all around (6-8 would be best). Maintain a safe distance from flimsy wood and throw anything out that will likely fall into your aquarium, as it may dent over time or break off underwater by stress/deformation due to impact – these problems are super easy to prevent though! Nail this base down along all edges in the same fashion, holding it firmly in place. Before long, this stand should have formed an aesthetically pleasing and relatively stable base. Pro tip! Don’t glue it briefly to the aquarium, wait until you’re ready!)
That’s it! You’re done. Make sure to not fill any of your tank with water till you are sure everything is secure, and happy fish keeping!