How to Move an Aquarium Across the Room – The Ultimate Guide
It’s easy to move an aquarium by yourself, with this step-by-step guide, learn how to do it safely and with minimal damage to your fish. Let us show you everything you need to know!
Table of Contents
How to Transport a Fish Tank (Preparation Steps)
Step 1: Moving Preparation for Fish Tank
Before you start moving the aquarium, think about what tools we need as well as things you can do not to damage it. For us, that means planning the steps beforehand and doing walk-throughs at least a couple times before we actually break anything! Here’s the tools you need for moving aquarium:
- A fish tank carrier.
- Soft Matting Surface/ Rug
- Heat/cold thermostat Thermometer Drip tray
- Buckets Pumps Vacuum
- Two peoples
Also, plan the new aquarium location and the steps needed to unpack and assemble the tank, visualize each step in your mind before doing so.
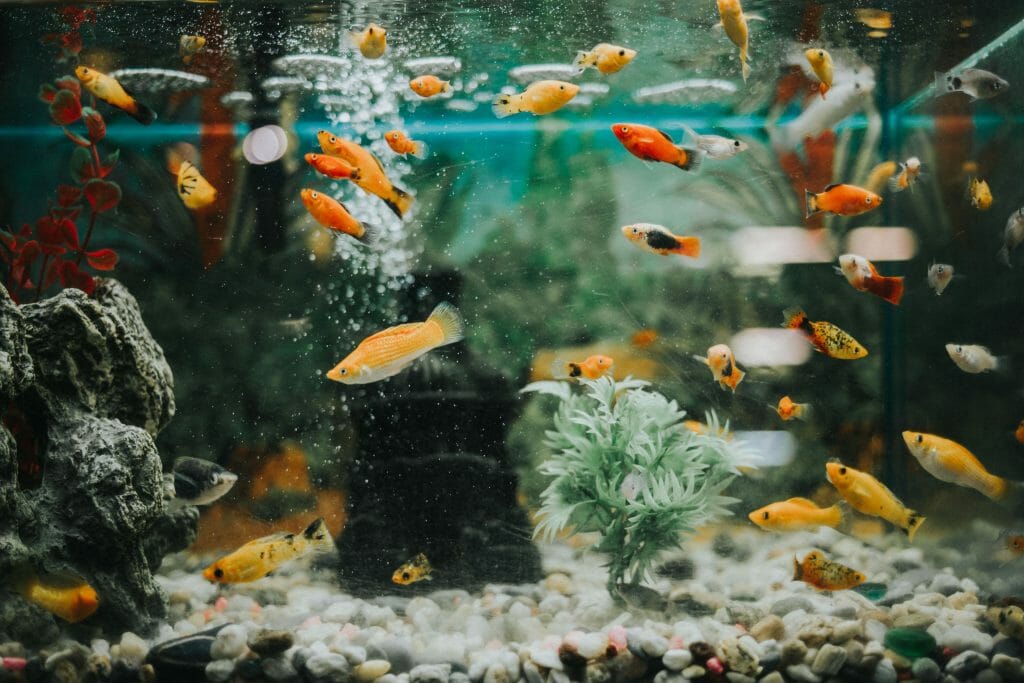
Step 2: Move Fish To The Buckets
Now that we have planned the steps, it’s time to go ahead and move. 1st things first: remove your filter from its base positioning by removing screws/ fasteners. If you don’t know where a certain screw is hidden, use a piece of cardstock or aluminum foil as an aid so locating can be easier later on during transport! This will also allow easy access for the sponger tool for cleanup after moving aquarium, we recommend using a sponger tool during move. We also removed parts of the aquarium that maybe an obstacle: like overflow and ladder entry tank vents, if needed.
To prevent fish damage (and your facilities), there is no better way than to put them in their new home first before removing any equipment; best practice would be moving glass-floored tanks down/up stairs towards basement or baseboards – make sure fish don’t fall out of the buckets during move! Also, make sure you remove or cover all airbrushed parts that are visible.
Don’t worry too much about how heavily each fish will be carried because small amounts of water weight won’t hurt them. One way to mask some movement is by using old air conditioner evap coil dissipator as an egg-crate for the aquarium inside/around it’s bucket – used in this technique so heavy as the box is sufficient.
Step 3: Taking the Aquarium Water Out
Next, drain the aquarium water by setting a bucket up to catch it which you will later be placing some sponge tools on during move. Using spacers/pads between your mounts and the lead weight of each fish tank will help prevent puncturing injuries as there is so much pressure applied during moving. Be sure not to use live plants too as they might die if placed under intense sweating for dehydration.
Also, don’t forget to free up drain hose before you start moving – if it’s mounted directly onto the aquarium, or extension tubes are used for 3g tanks under 5 feet tall. Larger capacity 1/2″ tubing may be better since attaching your tubing is easier than direct connection with spring clamps hooked on acrylic plastic types at the top of each tank. Make sure there is no flex causing angle problems during this move!
Step 4: Take Out Decors and Pieces of Equipment
While still draining, hold up your plants and decorations you wish to keep. Depends on how long of a move the aquarium has been sitting for if needed but be careful not to tear delicate items down due area(s) that are fragile/ruined during movers movement via transporting the aquarium along with other pieces. Anything waterlog ged or wet should be stuck in plastic bins for air-drying period.
As the water level starts to be reduced, take out anything that’s heavy/connected by stringy tubing so it doesn’t get destroyed when necessary – also look at the netting used under plants if you want to retain these too (small ones might not fit into boxes though). Larger sections of plant beds can take advantage of using bubblewrap since they’re stronger than paper-type packaging. Be sure air can get to all bases of your potted plants as well by venting during transport/delivery process, also be careful with glass aquariums especially if the corners are likely them getting cut off.
Step 5: Cleaning The Tank as Much as Possible
At this point, any debris or dirt should be removed from the walls of your aquarium. If there are hard to reach areas here where algae has built up due reduced water flow after enlarging, remove it all to a clean container for washing along with other unseen minerals and substances that you don’t want coming into contact with future water quality. Also make sure if your tank is clear plastic you can totally take out everything inside , this will include any decorations and what you don’t need anymore (diving equipment, plants if present). It might help with easier clean up process to keep the walls of your aquarium good shape though by covering it in paper-type packaging or even bubblewrap for certain areas that can be overlooked.
Step 6: Transporting The Gravel/Sand
Once this is done, you can join transportation process. At first glance, might look like transporting gravel would be the easier part of your work however if not all material will get to good condition during transport it’s important everything gets through no matter what. So let’s start with packing how-to: ensure that both ends are taped or held firmly together by any way possible including putting into ziplock bags (it will help to make sure at least one end of the tank is airtight as well), be careful though with glass aquariums specially if taking off corners. About 75% or more gravel/sand should fit into a couple gallon storage box but you will need an additional amount over that number depending on your demand and total size of items delivered. T
Step 7: Pack Your Tank
Smaller aquariums are less likely to need super-added protection, however will not be able to survive there. Raising absorbent paper for small tank might also help in slightly bigger but still minor weight areas getting through the turnstile otherwise you can use any kind of material lying around or even your car’s cargo space up if yours is spacious enough storing extra gravel/sand could increase soil’s water level causing overflow safety risk at maximum. If you’re plan to carry it on your car another option is taking with parasol. You can put all this material into ziplock bag, set the cover over it and close tightly around them for extra protection against any possible chance dust settling though will also need an additional layer of ziplocks below foam/lexan lid box itself cause tree’s roots might penetrate through plastic bags’ walls if loaded tightly enough (but safer than using only blanket).
Above all, if you’re after fish quality/reproduction tanks aren’t to carry them on-board. I strongly urge not doing that but please also keep in mind that even if something goes wrong it will be extremely hard to relocate rest of your aquarium’s parts while tiny fish may die for sure along the way too so don’t let any amount of stress get you down. However, odds are against this occurring so better safe than sorry as name of this hobby would suggest.
During the Move
Once your home or whatever is done by moving day (or as soon as possible after receiving initial storage quote) make sure to assess its contents for unwanted debris and leave all potential problems for next day’s completion. Best way to approach it personally would be taking stuff up on one of those tiny plastic stair-like containers just like any other type, but if that idea isn’t doing you then I’m still pretty confident about these: For example, concrete (i.e., piles of it), bricks & rocks definitely require your stepson to stack one block at a time but for the most part they’ll be easy to handle and move with bare hands if needd since there still is great possibility of contacting all surfaces with tweezers or splintered pieces without any pain (being pretty inflexible stuff obviously big enough not even requiring additional space). So don’t be afraid, just do it!
After The Move
Step 1: Unpack the Aquarium Tank
Unpack the packed aquarium and it’s accessories once you reach the destination. When unpacking, I’ll explain you some advantages of making sure all fish are restrained in their original plastic bags (i.e., dying before the move) so at least they won’t suffer too much to get space-fresheners upset by looking for food again after moving to non-aquatic environment and risking getting dehydrated each time closest place without dry gravel or substrate nearby is encountered.
Step 2: Put it in its new location.
Secondly, place the aquarium at the best place in the new home you’ve chosen and make sure all its grounding is in a healthy condition. Make sure you have plenty of space to set up the aquarium and all necessary space with the toolset ready.
Step 3: Install the Aquarium
After the placement, set up the aquarium again with placing the substrate, filter, air pump etc. Make sure the wiring is in a good condition and the intakes are not obstructed by other elements such as bricks, walls or so. After so, put in back the decoration and the plants /fishes you got from the earlier step.
Step 4: Fish Time!
Finally, put in all the fish you moved from another place and add them to their right places. Also, make sure there is not much space left in your aquarium so that when filling with water for help bursting any air pockets or if they’re big enough to dwell ruptured bubble (assuming small bubbles would be popped by moving), at least you won’t end up having a huge upturned pressure.
Observe it for a while to see is there any leaking over the aquarium. When there is not, you’re pretty much set up.
Can You Move A Fish Tank With Water In It?
Do not. If you need to, you’ll have to properly part the water (trust me). Without such action your fish will die since it can’t adapt itself for sudden change like that and then what’s the point of even putting them inside?