How to Build an Acrylic Aquarium: Materials and Instructions
Aquariums can be made of acrylic, glass, wood, or even stone. They are available in various shapes and sizes and come in different colors. An acrylic aquarium can be made using only a few materials. This article will help you understand the materials needed to build an acrylic aquarium and how to create a beautiful decoration for your home.
Table of Contents
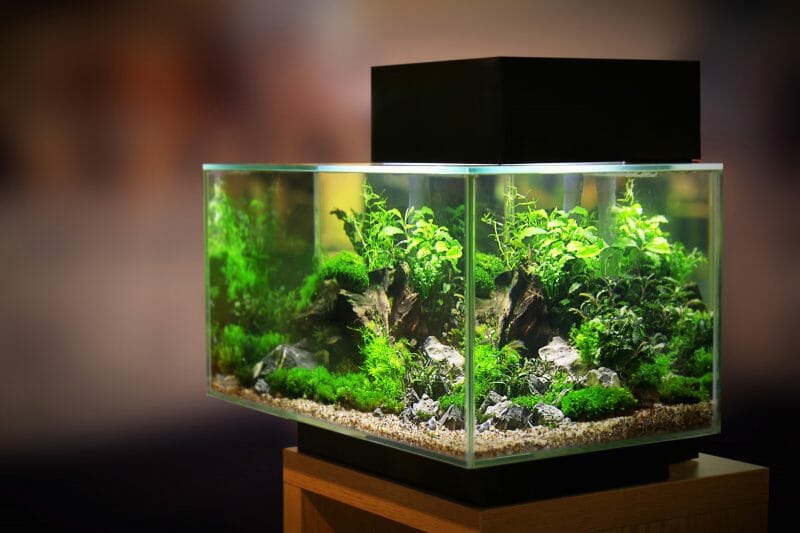
What is an Acrylic Aquarium?
In the aquarium hobby, acrylic is called “plastic” or Plexiglass. Acrylic aquariums are inexpensive, less fragile than glass or wood, and easier to maintain. This visual beauty can provide hours of enjoyment for your family. In addition, acrylic aquariums are perfect for people who want to keep a fish tank but do not have the room for a large aquarium.
How to Build an Acrylic Aquarium
Step 1: Purchase Needed Materials
Besides the materials stated above, you will need to buy the following materials for your fish tank:
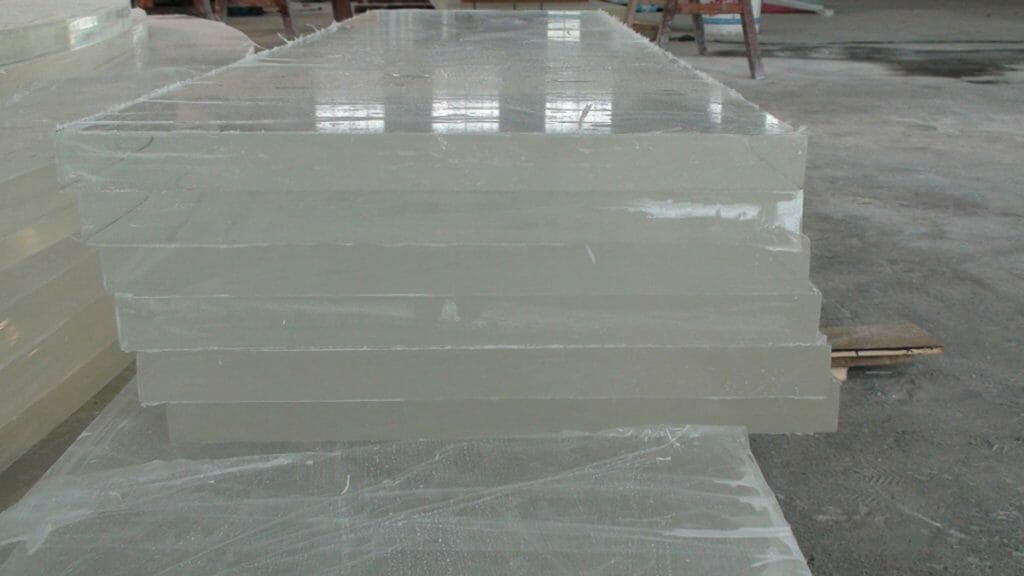
- Acrylic or plastic sheets
- Acrylic aquarium stand
- Formaldehyde (also known as methanol) or methylene chloride
- Acrylic acid
- Hydrochloric acid (HCI)
- A container to mix the two liquids in (acrylic acid and hydrochloric acid)
- Extra substrate or gravel
- Acrylic syringe to fill the tank
- Silicone
- UV Coated Sequential Tape
Step 2: Fill the Acrylic Sheets with Water to Create a Water Holding Tank
After you purchase your acrylic sheets, carefully put them into the provided syringe and add some Hydrochloric Acid (HCl). These chemicals are needed for an aquarium that holds fish; as such, after adding them to your tank, make sure not too much of it has spilled out or seeped through from the bottom because this could harm your fish. In addition, if you have a small tank, it is best to fill the entire tank with water.
Step 3: Shaping the Acrylic to the Aquarium’s Size
Once completely dry, remove tape and clear coat (if applied), sand to smooth down/polish any particle remnants, shape interior of aquarium to fit inside shell with a file or scroll saw; sandpaper too should be shaped: it is desirable that the aquarium fits exactly in its final shape and the dimensions. This way you can have matching holes for attaching pump and lid supports.
Step 4: Position the Sheets to Aquarium
Holes in which lower sheet will be inserted have to be matched exactly with those on aquarium instructions. If they don’t, drilling won’t go through even empty spaces and no glue can hold the two pieces together. Those holes should ideally line up from side to side across aquarium so that you don’t risk damaging them during gluing process and also result good support for attaching it. Position sheets on aquarium, avoid crease that the acrylic creates when it is bent. Glue the matching holes in place.
Step 5: Apply UV Coated Sequential Tape
The process is about reinforcing the bond between acrylic and substrate, a very important step towards creating the type of glass look. All glue application must be from within 1″ outside to ensure that your bonding material takes strong hold (and remains stable) while covering the surface. It’s critical to keep the glue application as smooth, even and precise in placement so the bottom won’t get any air bubbles which can cause inconsistent bond between acrylic sheet and your substrates.
In addition, I suggest using the UV coated sequential tape to reinforce your bonding because these tapes are the most durable, long lasting and very strong tapes on the market. It is also very easy to apply with no mess or fumes involved.
Step 6: Start Applying Glue
Glue all surfaces of aquarium together by spreading glue evenly over both sheets and press them together as you apply it (avoid air bubbles). Press hard so that no gaps expose the substrate. All your extra items that you want to attach are secured by more sequential UV coated Sequential tapes at finished place (kitchen drawer handle for example). Be sure no glue enters aquarium or is smeared over surface before it dries completely as this will show with unpleasant cloudy haze in immediate future once dry. Steer clear from adhesive countersinks and other unwanted glue traps that may cause trapped air bubbles.
In addition, you can also use silicone to fill gaps and reinforce bond. Apply a thin layer of silicone along the seam of your aquarium, then push the acrylic sheets together until they stick. Once the glue is dry, apply more silicone to smooth out any air bubbles that may have formed during assembly.
Step 7: Remove Acrylic Coating
The first step in creating glass look is removing all the protective acrylic coating from both sides of your aquarium ( all surfaces except bottom) to expose the glass of your aquarium. You have plenty options for removing protective acrylic coating but one good option is using a plastic scraper razor blade (use its edge not the tip).
Step 8: Create the Aquarium Stand
Finally, you will need to create your aquarium stand. The stand should be as tall as your aquarium and at least half an inch taller than the aquarium itself. Also, you will need to make sure that it is sturdy enough so that it does not collapse when filled with water. After creating your stand, place it on the floor or stand on some bricks so that water will not leak through your aquarium. You then need to attach each sheet in a left, right, and even triangle pattern all creating one giant tank of acrylic sheets (as wide as you want). Also take care when placing the last layer because being too close could cause bubbles to form between them.
Step 9: Placing Tank in Something Less Than Perfect Place
One thing to remember about these aquariums is that you should not place them anywhere where space is limited or your model can be viewed by TV, computers and other electronic devices. Besides the extra bulk of it may end up being a distraction while watching television at night; so try to find an area away from all this when putting together your tank. You can place your aquarium on a wooden table or stand it on bricks, tile lines etc. but remember to make sure that the tank won’t be in direct sunlight and has plenty of ventilation.
And whatever you do don’t put them anywhere near radiators or fireplace as this may cause condensation to form over the acrylic sheets when placing at room temperature which is never going to give good results except for one!